
How to Get Walls Clean, Flat, and Ready for New Panels
Getting walls ready for drywall installation means making the surface clean, dry, strong, and even before any panel goes up. You need to clear the room, remove loose material, check the framing or wall base, mark problem spots, and gather the right tools. When the prep work is done well, the drywall fits better, the finish looks smoother, and the job moves faster with fewer delays.
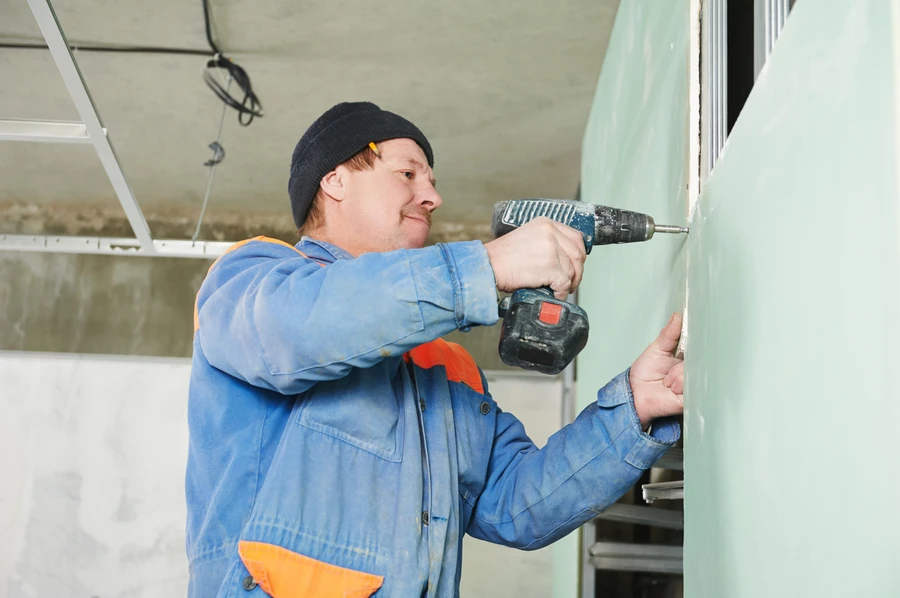
Quick Answer
The best way to prepare walls for drywall installation is to start with a full check of the area. Look for water damage, rotten wood, bowed studs, loose nails, old screws, gaps, dirt, and anything else that could affect the new wall surface. Then clean the area, make basic repairs, and confirm that the surface is flat enough for solid drywall work. Good prep helps the panels sit tight and keeps the finished wall from showing bumps, cracks, or weak spots later.
What You Need Before Starting
Before the job begins, it helps to have all your tools and supplies in one place. This saves time and helps you catch wall issues early. Even a simple home project can slow down if you stop every few minutes to find a knife, level, or fastener.
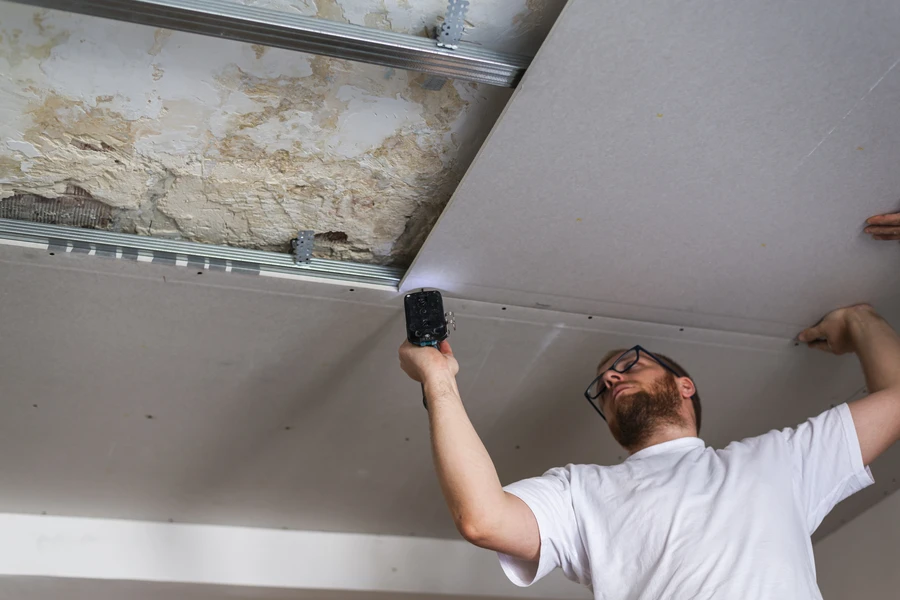
- tape measure
- level or straightedge
- utility knife
- hammer or drill
- screwdriver
- shop vacuum or broom
- trash bags
- safety glasses and gloves
- joint compound for small patch spots
- replacement screws or nails
You should also think about the room itself. Move furniture out of the way. Take down wall hangings. Cover floors if needed. If this job is part of a larger service category keyword project, plan the order of work so painting, trim, and electrical tasks do not get in each other’s way.
Step-by-Step Process
Wall prep is easier when you follow a simple order. That keeps small issues from turning into bigger ones later.
- clear the space completely. Remove outlet covers, nails, hooks, trim pieces, and anything attached to the wall.
- check for moisture. Look for stains, soft spots, mold marks, or damp framing. Drywall should not go over wet materials.
- remove loose material. Scrape away peeling paint, broken plaster, old adhesive, and crumbly sections.
- inspect the framing or base surface. Studs should be secure, straight, and spaced correctly. Existing wall areas should feel solid.
- fix raised fasteners. Hammer in popped nails and tighten loose screws.
- mark uneven spots. Use a straightedge to find bows, dips, or bumps. Mark them so they can be shimmed or trimmed.
- clean the area well. Dust and debris can affect fit and later finishing work.
- check electrical and plumbing lines. Make sure boxes sit at the right depth and pipes are not blocking panel placement.
- measure the walls. Confirm panel sizes, cut points, and tricky areas around doors, windows, and corners.
- do a final walk-through. Make sure the wall is clean, dry, safe, and ready for drywall installation.
Common Mistakes to Avoid
A lot of drywall problems start before the first sheet is hung. One common mistake is covering up water damage. If a wall has a leak behind it, new drywall may look fine at first and then fail later. Another mistake is skipping the framing check. A crooked stud can create a wavy wall that is hard to hide, even after taping and finishing.
People also rush past cleaning. Dust, chunks of old material, and stray fasteners can stop the panel from sitting flat. Bad measurements are another issue, especially around outlets and windows. Small errors can lead to cracked edges, wasted sheets, and extra patching. It also helps not to overload the space with tools and cutoffs, because clutter can slow movement and create safety risks.
When to Call a Professional
Some prep jobs are simple, but others need an expert eye. If you find mold, active leaks, major wall movement, broken framing, or signs of structural damage, it is smart to get help before hanging drywall. The same goes for older properties with uneven surfaces that need more than basic patching.
You may also want professional help if the room has many corners, high ceilings, or detailed cut-ins around lights, vents, and built-ins. In these cases, proper prep can take more time than people expect. A trained crew can spot issues faster and help avoid wasted materials. If the goal is a clean finish from the start, prep work matters just as much as the panel installation itself.
Final Recommendation
For many homes and work spaces, the smartest approach is to slow down and prepare the walls fully before drywall installation starts. A clean and level base helps every step after that, from panel placement to taping and paint. If you are in Springfield, VA and want a smoother project, reach out for guidance on the prep work. At Master Handyman LLC, we can inspect the space, answer your questions, and help you plan the next step. Call us at (703) 952-2326 to get started.